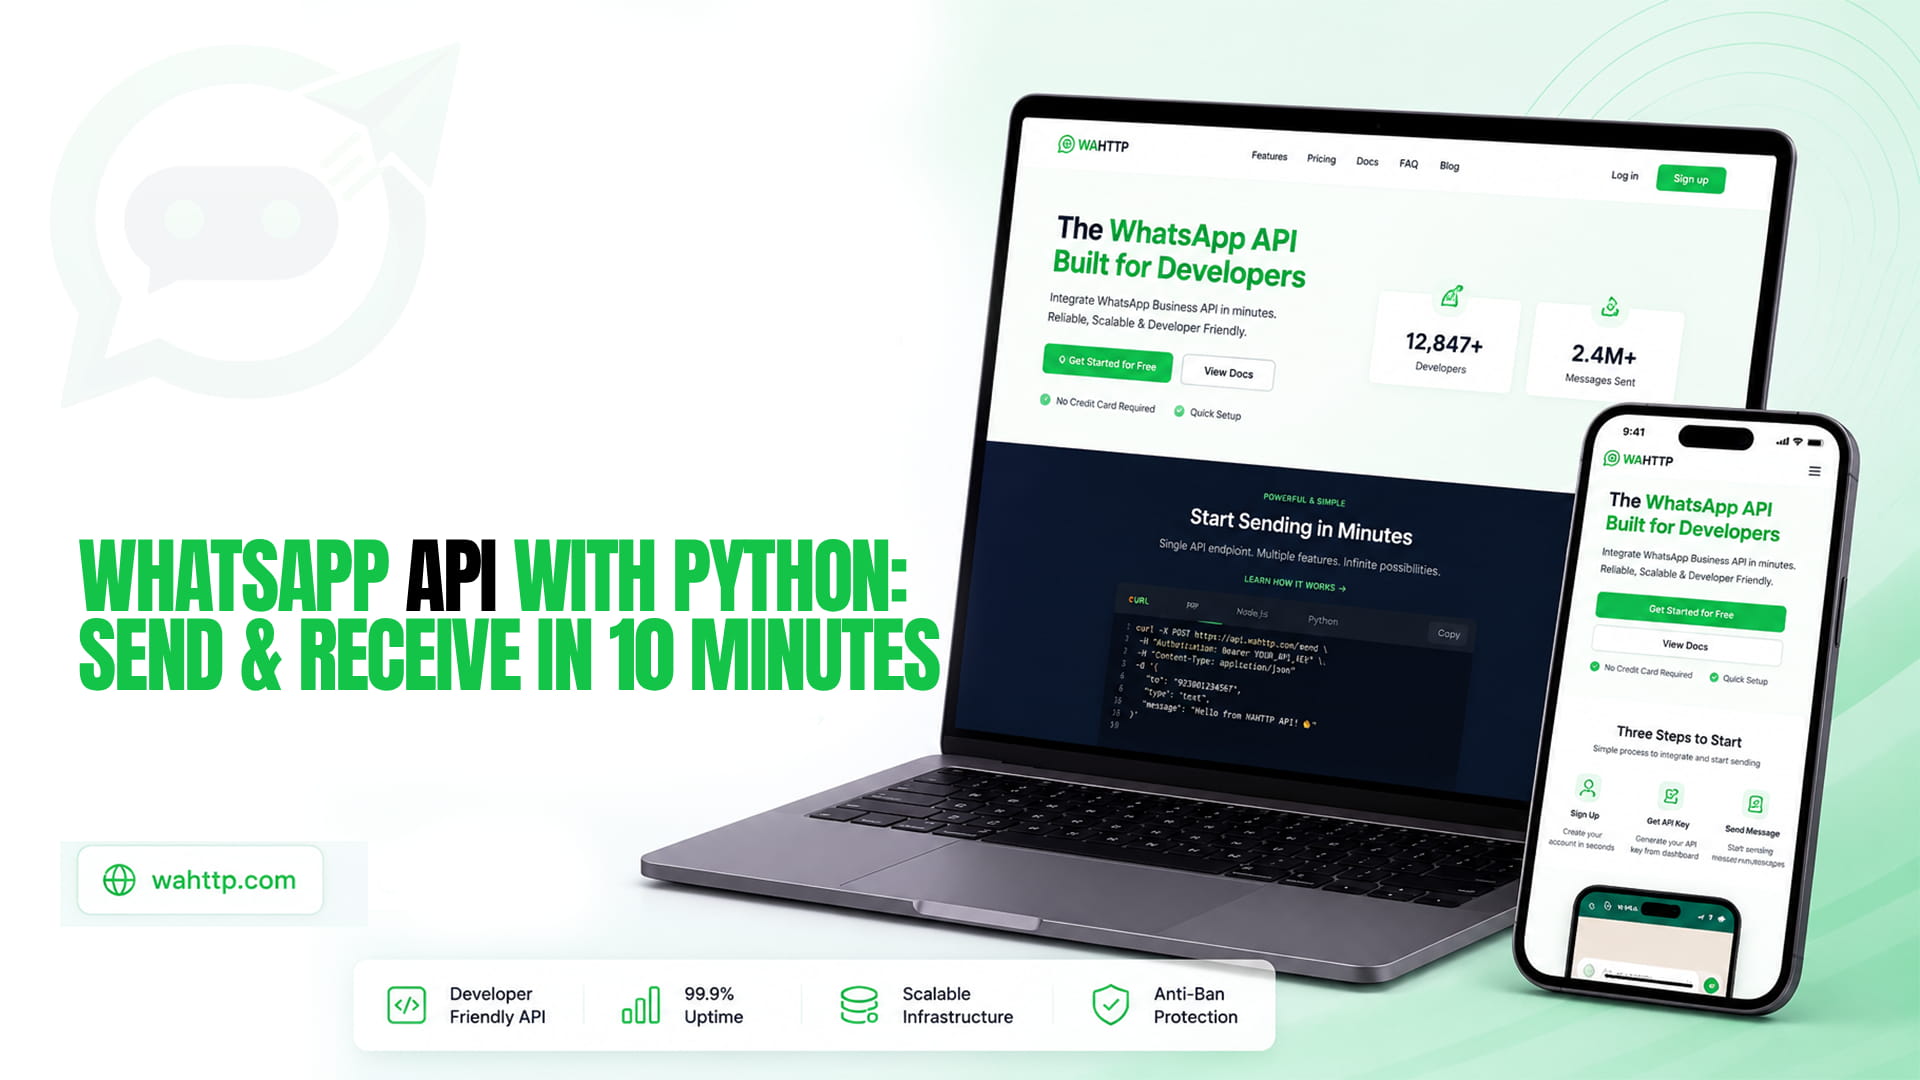
You need two things to talk to WhatsApp from Python: an HTTP client and a bearer token. No SDK, no WhatsApp-specific package to install. Here's the working send, right now.
python
Install requests (pip install requests), swap in your own API key, session ID and recipient number, and that's a message sent. Everything else in this post is what you need to go from this single call to a script you'd actually run in production.
Before any code: connect a session
A WhatsApp API needs a connected number before it can send anything, and this is the one step that isn't pure code. Create a session in your WaHttp dashboard, scan the QR code with the WhatsApp app on the phone you're connecting, and copy the session ID and API key it gives you. That connection is what SESSION_ID and WAHTTP_API_KEY refer to above. Until that session shows as connected, every API call will fail with a clear error rather than silently doing nothing, which is worth knowing before you start debugging the wrong layer.
Set both as environment variables rather than pasting them into a script:
bash
Use a wahttp_test_ key while you're building this, and switch to wahttp_live_ only once you're sending to real numbers.
A reusable client instead of one-off calls
The snippet above works, but a real integration sends more than once, so wrap it:
python
requests.Session() reuses the underlying TCP connection, which matters once you're sending more than a handful of messages per run. Media sends get a longer timeout than text, since the API has to fetch the file from your URL before delivering it, and that URL has to be publicly reachable for the same reason.
Receiving messages: the half most tutorials skip
Sending is one direction. To receive a reply, you expose an endpoint and register it as a webhook, and FastAPI is the fastest way to stand one up in Python specifically.
bash
python
Run it with uvicorn main:app --port 8000, expose it with a tunnel like ngrok while you're developing locally, and register the public URL as your session's webhook in the WaHttp dashboard. Two details matter here more than the code itself. Return a 2xx immediately and do the actual work in a background task, because if your handler calls a slow downstream service, often a language model, before responding, the webhook will time out and you'll receive the same event again while the first attempt is still running. And check isGroup before replying to anything, or your echo bot will answer every message in every group it's a member of.
Putting it together: a minimal echo bot
Here's the whole thing as one runnable file, which is close to the actual 10-minute version of this tutorial:
python
Message anything to your connected number and it echoes back. That's the full loop, send and receive, in under 40 lines with no WhatsApp-specific dependency anywhere in it.
The three things that break this in production
This tutorial is deliberately narrow. A few things it skips on purpose, because they deserve more room than a "first 10 minutes" post should take:
Phone number formatting. Real numbers arrive as (415) 555-1234, 415-555-1234 and half a dozen other shapes, and the API expects clean E.164. Normalize with phonenumbers before sending, not after something fails.
Rate limiting. A tight loop sending to a customer list is one of the clearest automation signals WhatsApp's detection looks for. Pace sends with randomized delays, not a fixed interval.
Retries and backoff. A 429 or 5xx deserves a retry with exponential backoff; a 400 or 401 never does, since retrying a malformed request or a bad key just repeats the same failure.
All three are covered in depth, with working code for each, in our full Node.js and Python guide, which this post intentionally doesn't duplicate. And if webhook signature verification and event types are what you need next rather than rate limiting, our webhooks deep dive covers that specifically.
What this costs once you're past the trial
Nothing above requires a credit card to try: a WaHttp session starts on a free trial capped at 100 messages a day for seven days. Past that, pricing runs $5 to $35 a month for one to ten sessions with unlimited messages on every tier, and no per-message fee stacked on top the way Meta's own official Cloud API charges. Our 2026 pricing breakdown has the full comparison if you're weighing this against the official platform's per-message rates instead.
Which endpoint shape you're actually coding against
Everything here assumes a session-based REST API, where any message body can go to anyone at any time, which is why the Python above never deals with template names or approval states. On Meta's official Cloud API, the same send_text call becomes a template send outside the 24-hour customer service window, with variable arrays instead of a free-text body, which is a meaningfully different code path, not just a different vendor. If you haven't settled which one you're building against yet, that's worth resolving before you write more than this tutorial's worth of code around either shape.